

How to upload your BoothMotion start screen animations to Snappic via computer:
1. After your purchased start screen has been completed, please go to your orders page at BoothMotion Orders;
2. Click on “VIEW ORDER” next to your relevant order;
3. Scroll down to the bottom of your order page to see your completed animation and click the “DOWNLOAD MP4” button to save your start screen animated to your computer;
4. Go to Snappic and log in to your account;
5. Find your upcoming event to which you would like to upload your BoothMotion start screen asset/s;
6. Scroll down to the “App Experience” section and click “edit”;
7. Under the “Photo Booth” tab, click the “Upload Animated Attract Screen” button;
8. Find your BoothMotion start screen asset/s on your computer. This will likely be in your “downloads” folder. Click “ok” to load it in;
9. We recommend using the ‘hide title banner’ option to prevent any text at the top of your start screen from being obstructed; then
10. Hit the “save changes” button, and you are done!
How to upload your BoothMotion start screen animations to Snappic via iPhone or iPad:
1. After your purchased start screen has been completed, please go to your orders page at BoothMotion Orders;
2. Click on “VIEW ORDER” next to your relevant order;
3. Scroll down to the bottom of your order page to see your completed animation and click the “DOWNLOAD MP4” button to save your start screen animated to your iPhone or iPad;
4. If prompted with “Do you want to download 12345.mp4?” click download. This will save your BoothMotion start screen to the downloads folder of the Files app on your device;
5. Go to Snappic and log in to your account;
6. Find your upcoming event to which you would like to upload your BoothMotion start screen;
7. Scroll down to the “App Experience” section and click “edit”;
8. Under the “Photo Booth” tab, click the “Upload Animated Attract Screen” button;
9. When prompted, select “Choose File” from the pop up list;
10. If your file isn’t visible in the folder which opens, click “Browse” to find your “Downloads” folder;
11. Select your BoothMotion download and it will upload to your Snappic event;
12. We recommend using the ‘hide title banner’ option to prevent any text at the top of your start screen from being obstructed; then
13. Hit the “save changes” button, and you are done!
How to upload your BoothMotion Animated Video Overlays (AVOs) to Snappic via computer:
1. After your purchased Animated Video Overlay has been completed, please go to your orders page at BoothMotion Orders;
2. Click on “VIEW ORDER” next to your relevant order;
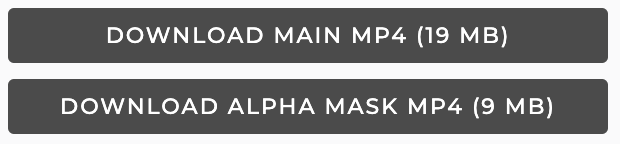
3. We will need to download two files for Snappic. Scroll down to the bottom of your order page to see your completed animation and click the “DOWNLOAD MAIN MP4” and “DOWNLOAD ALPHA MASK MP4” buttons to save the relevant files to your computer;
4. Go to Snappic and log in to your account;
5. Find your upcoming event to which you would like to upload your BoothMotion Animated Video Overlay;
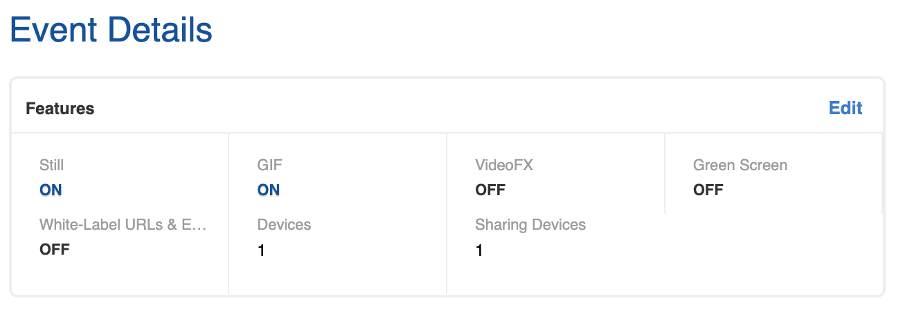
6. Ensure that Video FX is enabled under Event Details. If not, click ‘edit’ and enabled Video FX. This will take you straight to the Video FX Builder;
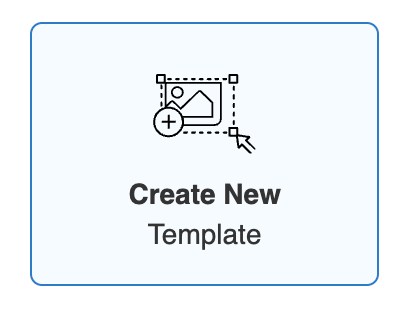
7. For the purposes of this “how to” guide, select the “Create New Template” option. You are also welcome to choose from any of the Snappic templates available in the library;
8. Give your template a name for easy identification purposes;

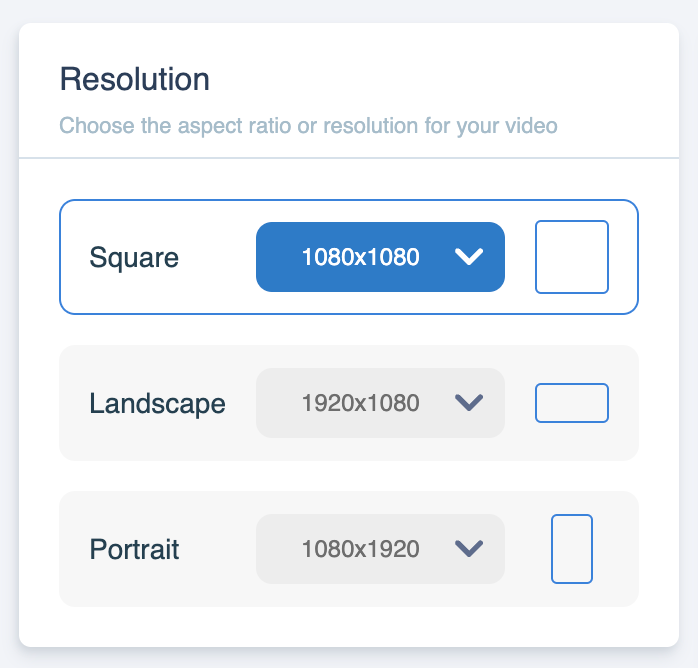
9. Select the orientation and resolution for your Video Output based on your BoothMotion Animated Video Overlay purchase;
10. Upload the MAIN MP4 file which you downloaded from BoothMotion to the “Overlay” box and the ALPHA MASK MP4 file to the “Overlay Mask” section; then
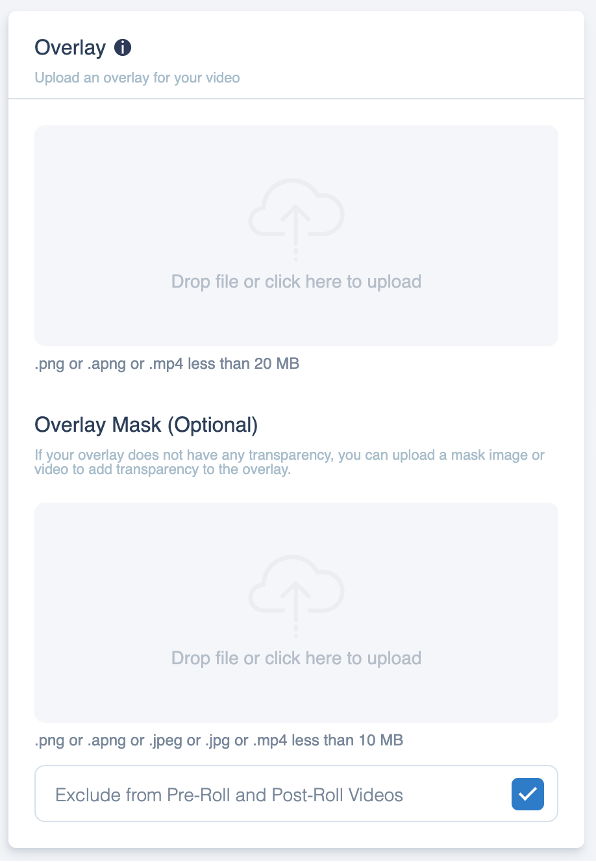
11. Be sure to hit the save button and now your BoothMotion Animated Video Overlay will now show over any recordings, special effects etc which you add in the Video FX editor.